Use our Merchant Onboarding API to easily board your merchants using our easy-to-use, customizable merchant application.
Talus makes it easy to onboard merchants into payment processing—without the hassle of collecting sensitive information yourself. Instead, leverage Talus’s robust, customizable, and white-labeled merchant application experience.
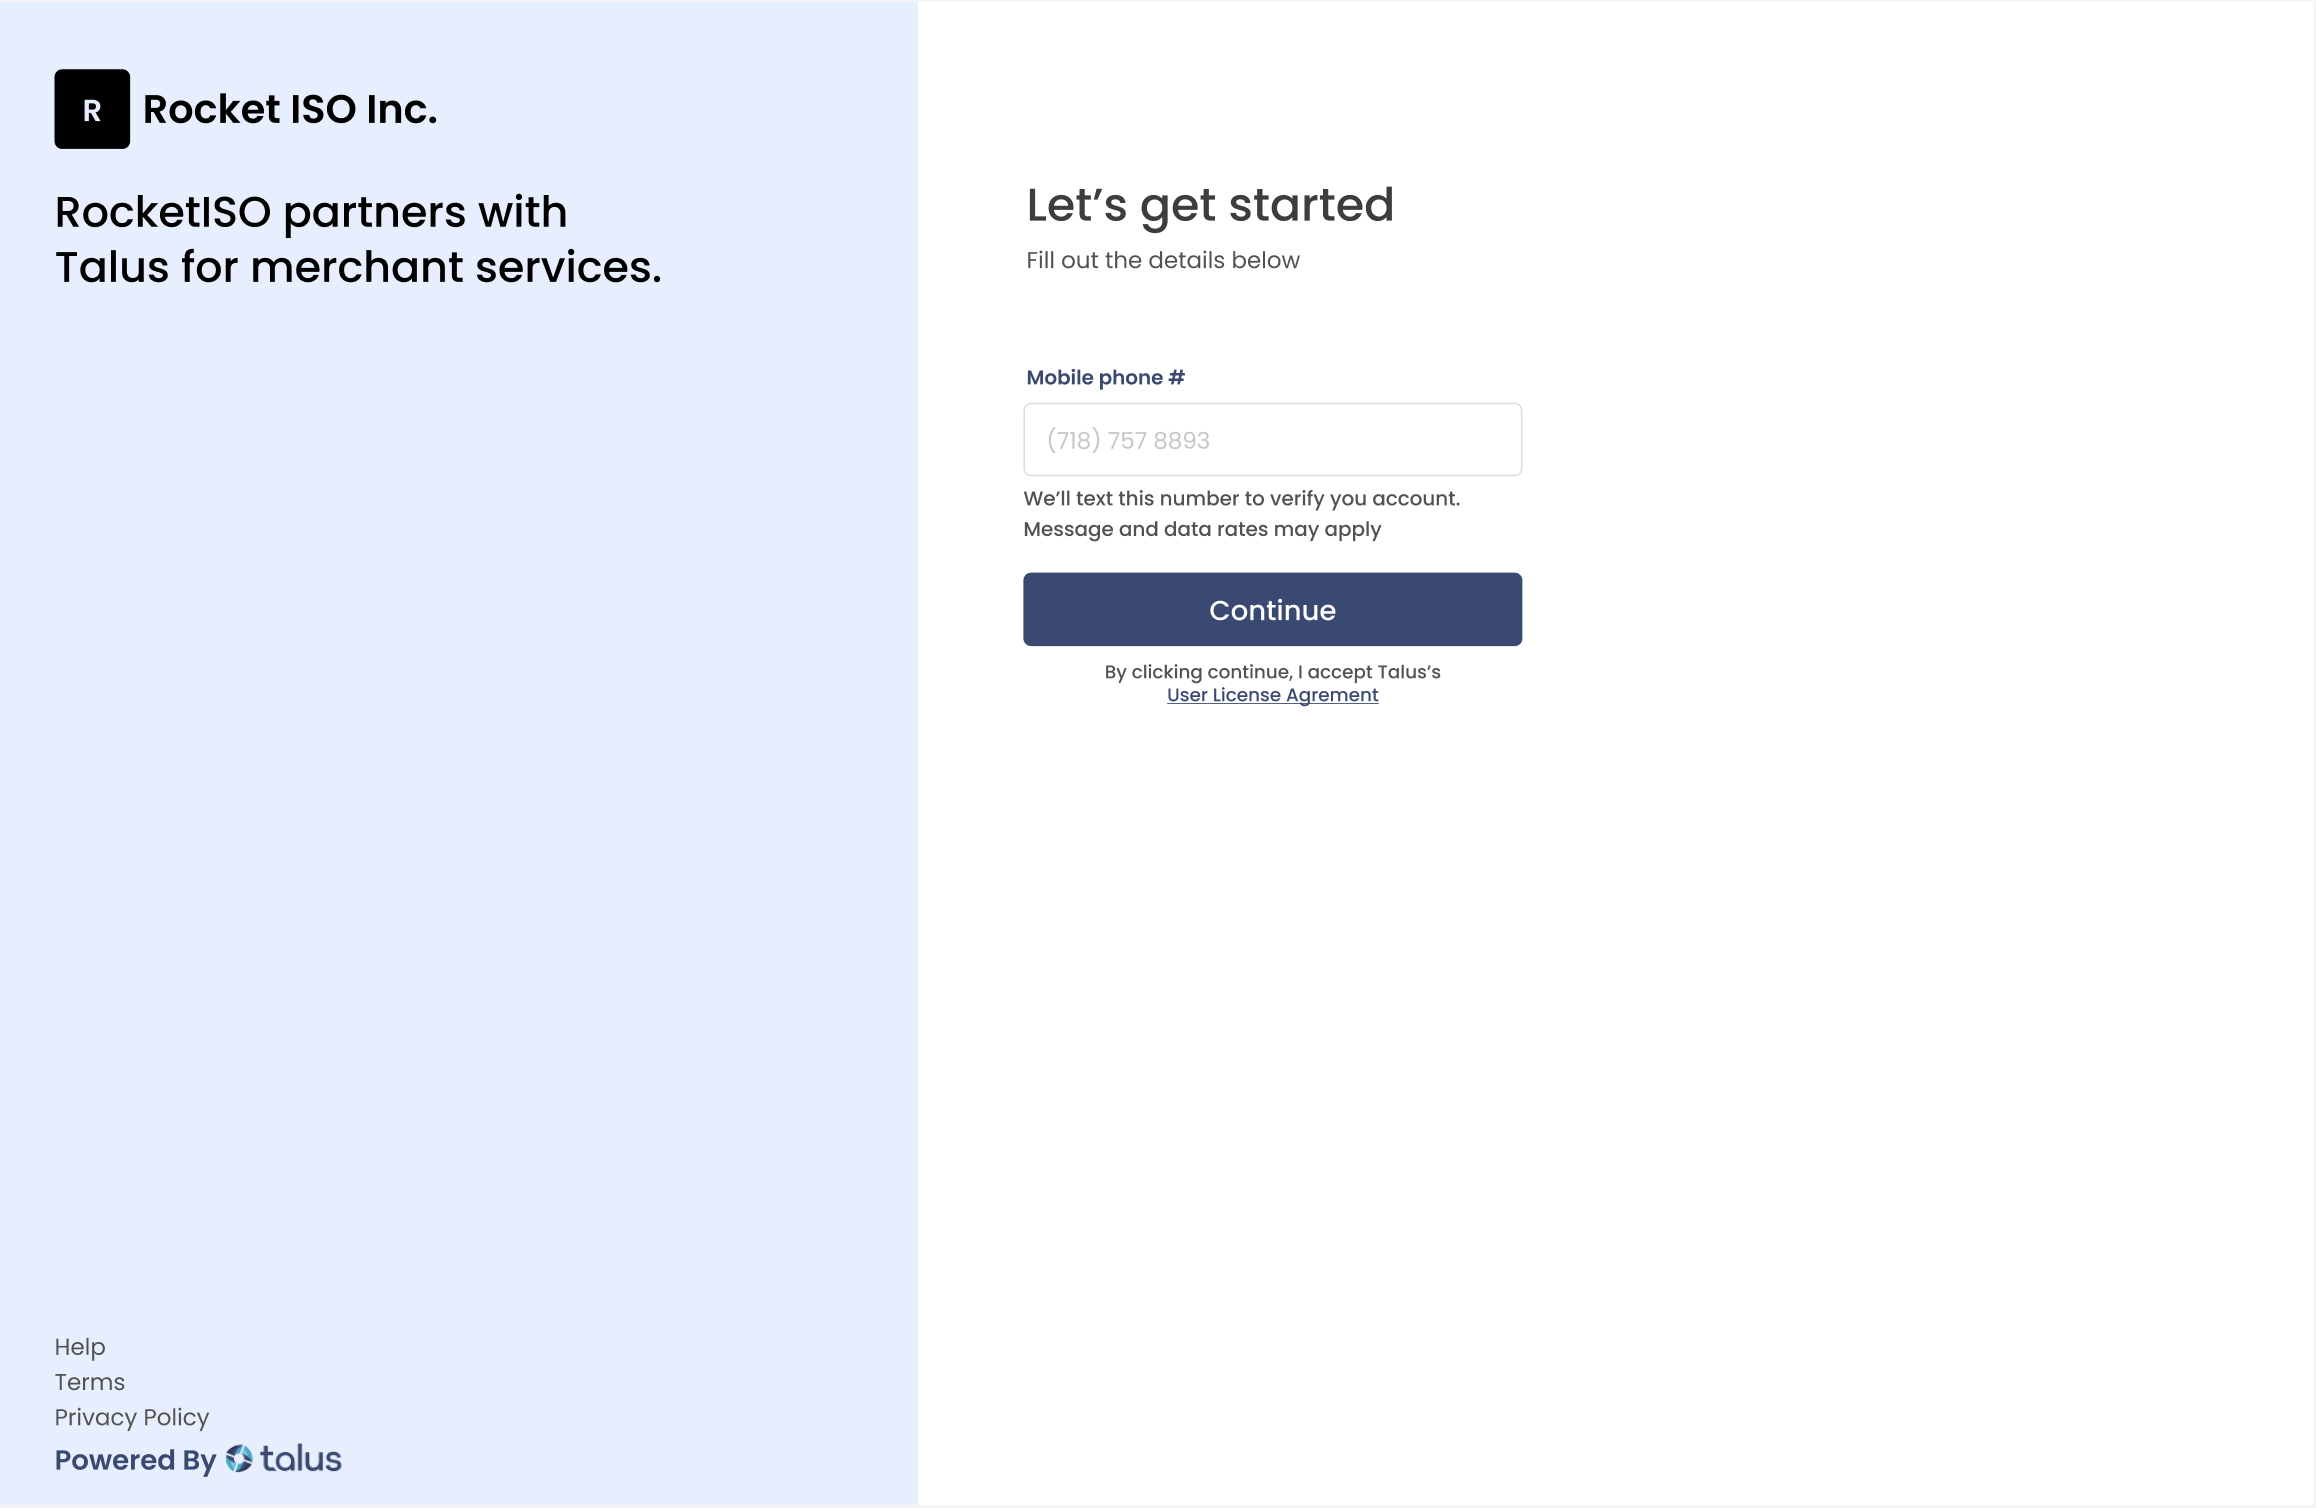
Using the Talus Connect API, you can direct your merchants to a personalized onboarding flow that matches your branding and their specific business needs. Once completed, the merchant is automatically provisioned with the correct payment accounts to support the payment methods you’ve enabled for them.
Before you can start onboarding merchants:
- You must be registered as an ISV with Talus.
- Your onboarding experience must be configured.
- Once setup is complete, you will receive your ISV Master API Key, which is required to authenticate the API calls described below.
Use the Create Account API to create a new merchant account.
- At minimum, you must include the
phone. - Optionally, you can prefill other merchant details or define custom capabilities for the account.
- If no custom capabilities are provided, the account will inherit the default configuration associated with your ISV.
curl https://api.taluspay.com/v1/merchants \
  -H "Authorization: Basic <sandbox_account_secret>" \
  -H "Content-Type: application/json" \
  -d
{
  "phone": "1500500500",
  "merchant" : {
    "capabilities": {
      "types": [
        "two_tiered",
        "ach"
      ],
      "options": {
        "two_tiered": {
          "vmd_cp_rate_percent": "2.00",
          "vmd_cp_fee_fixed": "0.10",
          "vmd_cnp_rate_percent": "2.50",
          "vmd_cnp_fee_fixed": "0.15",
          "amex_cp_rate_percent": "3.10",
          "amex_cp_fee_fixed": "0.25",
          "amex_cnp_rate_percent": "3.50",
          "amex_cnp_fee_fixed": "0.30"
        },
        "ach": {
          "txn_fee_percent": "1.50",
          "txn_fee_fixed": "0.25"
        }
      }
    }
}Use the Create Account Link API with the following parameters:
merchant_id: The ID of the account you created in step 1.redirect_url: Where the merchant should be sent after completing onboarding.type: Must be"account_onboarding". This will generate a URL that launches the merchant into the onboarding flow.
curl https://api.taluspay.com/v1/onboarding_links \
  -H "Content-Type: application/json" \
  -H "Authorization: Basic <sandbox_account_secret>" \
  -d '
{
  "merchant_id": "mch_123456
  "type": "account_onboarding"
}Once you receive the onboarding link, redirect your merchant to it.
✅ Important: Authenticate the merchant within your app before redirecting them to ensure secure access and tracking.
After onboarding, Talus will redirect the merchant to the redirect_url you provided. Make sure your application:
- Validates the returned state or query params (if used),
- Confirms the merchant's onboarding status via API, and
- Displays a meaningful success (or next steps) message.
Some merchants may abandon the flow before completion. You can:
- Use the Retrieve Account API to check onboarding status.
- If not complete, prompt the merchant with a UI element to resume onboarding.
- Reuse the existing account link if it’s still valid, or generate a new one for a better user experience.
Once the merchant submits the merchant application, our Auto Approval and Underwriting engine will run automatically. If for any reason additional information is needed, you or the merchant will be notified (based on your settings), and the merchant will be able to correct or provide missing information through a self-served merchant portal.
Explore the full Create Merchant API and Merchant Application Link API documentation for deeper integration options and advanced use cases.